Showing posts with label Bridgeland. Show all posts

April 20, 2013

Adding a Little Art

I still need to add a shelf above my desk but it was looking so bare that I finally put up a couple of pieces of art to add some colour.

Before - pretty but plain
Definitely feeling bare
I put up these great "Tree Ghosts" created by Leanna Isayew that I picked up at the Calgary Art Market last November.
When I picked these up, Leanna provided me with the following description for these pieces:

Each tree ghost is created from dead fall found in the Calgary area.  The process takes approximately a week to produce.  The rounds are cleaned, cut and sanded both by machine and by hand.  A varnish is used to seal the wood which readies them for painting.  Each one is then hand painted using a unique process to warp the paint into colourful patterns.  When the paint is fully dry the face is then coated with a resin to exquisitely encapsulate the ghost and create a shiny almost jewelled effect.  Each ghost is completely unique in shape, size and colour.

I love how the resin makes these pieces sparkle and the colours are so bright and cheerful.  A hole is drilled into the back to make them easy to hang or you could lay them flat.
I love how the paint still appears to be wet
It's slowly coming together

April 12, 2013

Family Room - Sneak Peek

My family room is really coming together nicely.  The addition of my new drapes and some furniture rearrangement has completely changed the feel of the room.  It's such a bright and comfortable space.  I'm still hunting for a coffee table, a new media console (maybe?), lighting, incorporating more artwork and making a cushion for my window seat.  Feels like a very doable list.

I sold my old chairs (they went really quickly) and decided to replace them with just one chair as once the cushion is added to the window bench, that will work as extra seating.  I really love the Strandmon wing chair I picked up from Ikea.  It was exactly the updated piece I was looking for and the slope in the seat makes it really comfortable.  More posts to come as I continue to work on this room.

March 29, 2013

In Search of....A Staircase Light

I am in need of a new light for my staircase.  I'm slowing working my way through the house, replacing each light as the previous owners clearly got a deal as they are all identical and cast a horribly yellow glow and they are just not my cup of tea.  I would probably be more into them if they were actually original to the house but they are just inexpensive reproductions.
Current light fixture (don't worry, I did finish cutting in while I was painting)
I've finally narrowed it down based on a few inspiration photos and now I just need to find something similar within my budget.  I have noticed that a lot of similarly shaped lights are sold as pendants with one light bulb but I'm looking for at least three as more light is needed for a staircase.
Ranch at Live Oak Malibu photo by Mark Adams Pictures via Remodelista
via Style at Home
A few options:
Star Lantern from Circa Lighting
Four Light Black Framed from Signature Lighting

Denison Ceiling Light from Elte
I'm still on the hunt but pleased to know that there are a few options out there.

March 23, 2013

Craft Room - Update II

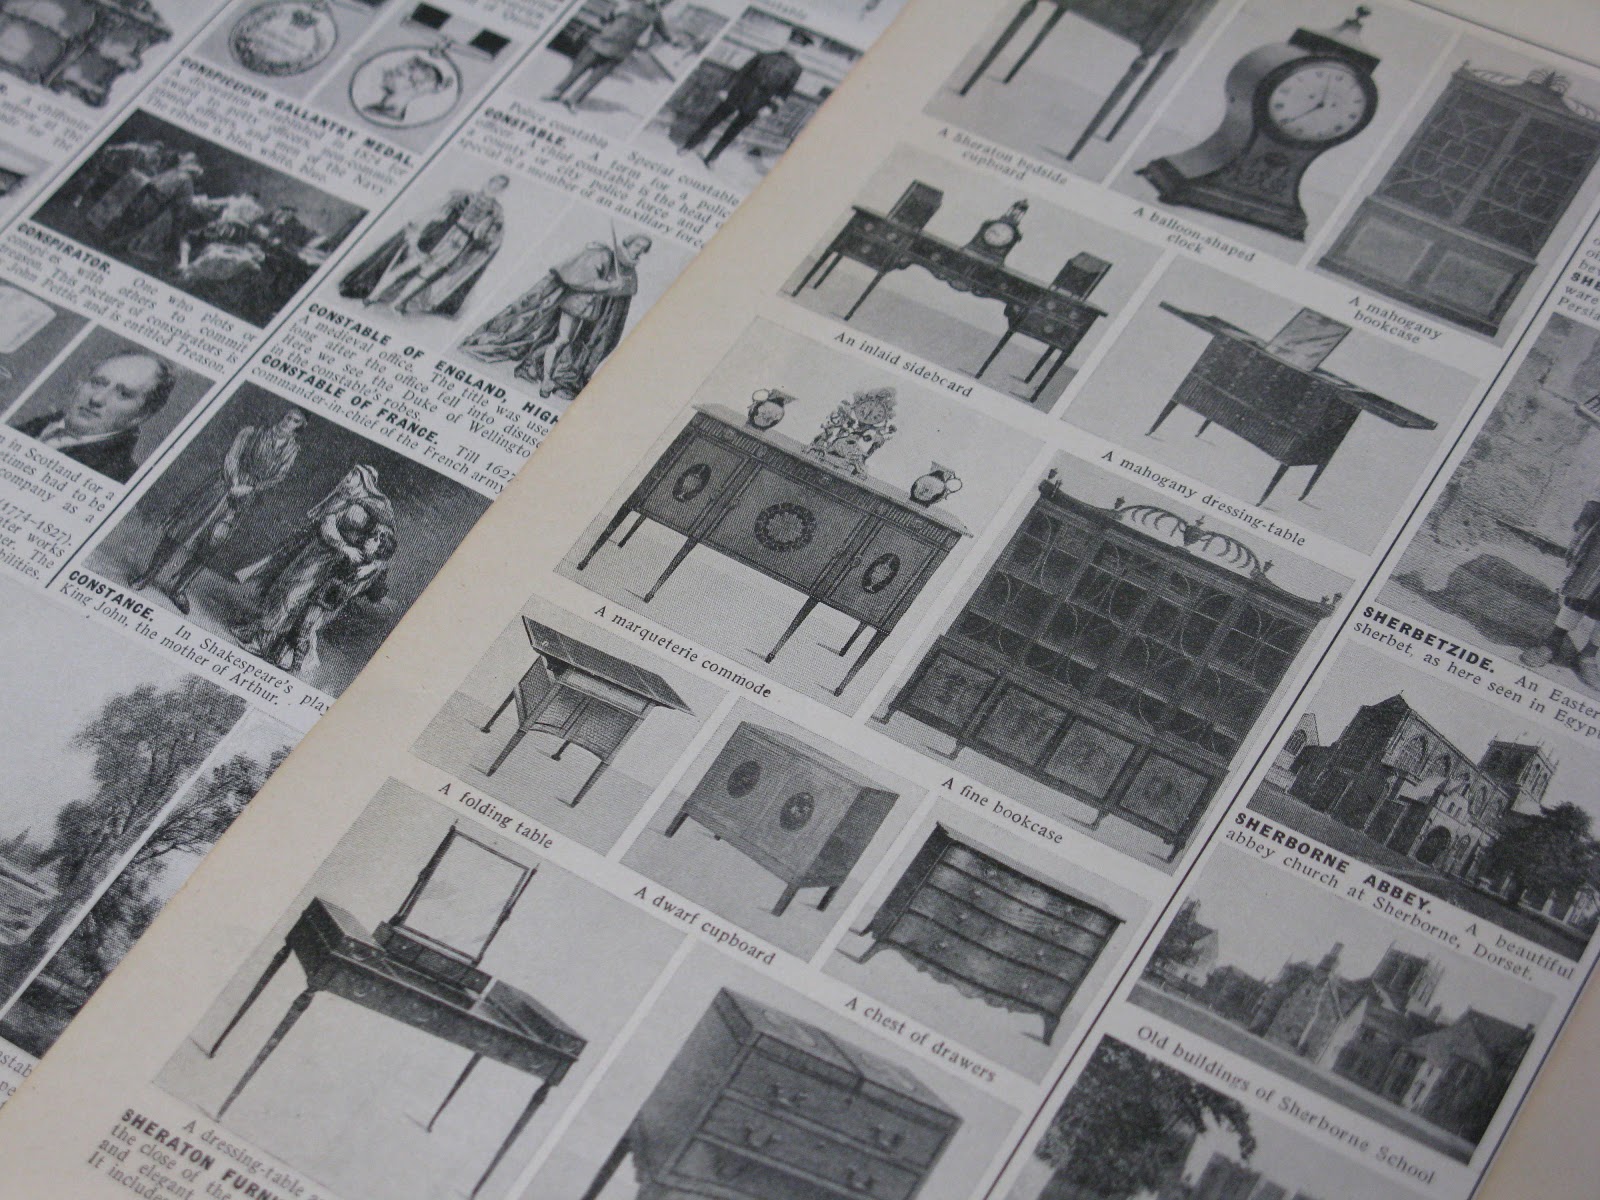
I finally wallpapered the wall behind my desk with pages from an old set of encyclopedias.  I previously discussed different projects I was planning with these books here.

These encyclopedias are pretty unique as they contain pictures rather than a lot of text.  I spent several nights leafing through all five volumes and selecting pages that include items related to architecture, design, furnitures, etc.
I just love the vintage images and many of the pages have aged from use and time so some are a bit more yellowed than others.

March 17, 2013

Craft Room - Update I


Sneak peek
There has been a lot of progress in my craft room (see my plans here).  A huge part of this project also included painting my stairwell and the trim along my staircase and I am really happy with how it's turned out.  Here is what the space looked like before:


My first step for this project, was to rip off all the trim around my doors and take out the shelves in the closet.

March 03, 2013

Dreaming of .... Craft Room

My new house has a landing at the top of the stairs with a closet and built-in desk.  Here is a photo of what it looked like when I bought it:
I love that the herringbone floors are continued up into this space but the wood doors and trim along with the wheat-coloured paint really makes the space feel "yellow".  The landing has a skylight and is wonderfully bright all day long but it just hasn't been a very pretty space to work in.

I've just started the process of taking off the trim, filling holes, sanding the walls and removing mis-matched shelving in the closet.  Sometimes it takes a big mess before you can get a great space.

Here is what I'm hoping the room will feel like:
Photographed by Trine Thorsen via Bodie & Fou
I love how cozy this space feels and with all the white and pale wood it feels very light and airy.

I'm planning to evoke a similar look by incorporating the following design elements into this room:
Wallpapering behind the desk with pages from books.

Add Ikea shelves behind the desk for storage.

Re-paint an existing dresser in a deep navy blue and refresh the hardware.  I'm planning on using this to store various craft supplies.

Paint the room in Stonington Gray HC-170 by Benjamin Moore. This is the colour I have downstairs and will continue it up into this space for a consistent look.

Painting the desk, closet door and all the trim in Decorators White CC-20 by Benjamin Moore.  The finish is a semi-gloss for a bit of sparkle and contrast.

Here is my 'to-do' list:

  • paint the room in Stonington Gray (carrying the colour up from the downstairs)
  • paint the desk in white
  • wallpaper behind the desk with pages from books
  • add shelves above the desk
  • paint out the closet door in white and replace the handles
  • paint the interior of the closet
  • create efficient shelving in the closet
  • replace the trim around the doors
  • paint the baseboards white
  • paint my dresser in navy blue and switch out the handles
  • bring it all together with artwork and some accessories

That is a big list but now that the prep work has been completed, I can start painting.

February 23, 2013

Paper Blinds - I never thought I'd use them

Ok, so I put up paper blinds and now I understand why people put them up and then never take them down again. How did this happen to me?


After getting my windows replaced, I was left with a lot of beautiful windows but zero privacy.  This was a bit of a bigger issue in my kitchen, where I have floor to ceiling windows that face my neighbour's house with a shared walkway and in the principal bedroom which also has a huge window with an unobstructed view of the alley and the east side of my neighbourhood.

I decided to not re-install the previous blinds as I didn't want to drill holes in the new vinyl windows (there goes the warranty) and I knew that in the future, I would be trading them in for a different style anyways.  So what do you do when you don't want the entire neighbourhood seeing you in your pig-patterned pyjama pants?  The answer to that came as I strolled the aisles of Home Depot frantically looking for something that would allow me to turn on the lights in my bedroom without creating a mini red light district in Bridgeland.

Redi Shade available at Home Depot
Redi Shade is designed as a temporary solution when you need something on your windows to filter the light and add privacy.  The key word is "temporary" as these are made of paper and aren't a long-term solution.  I was really surprised though by the quality of the paper and how nice they actually look and now I definitely understand why people may keep them up for longer than intended.

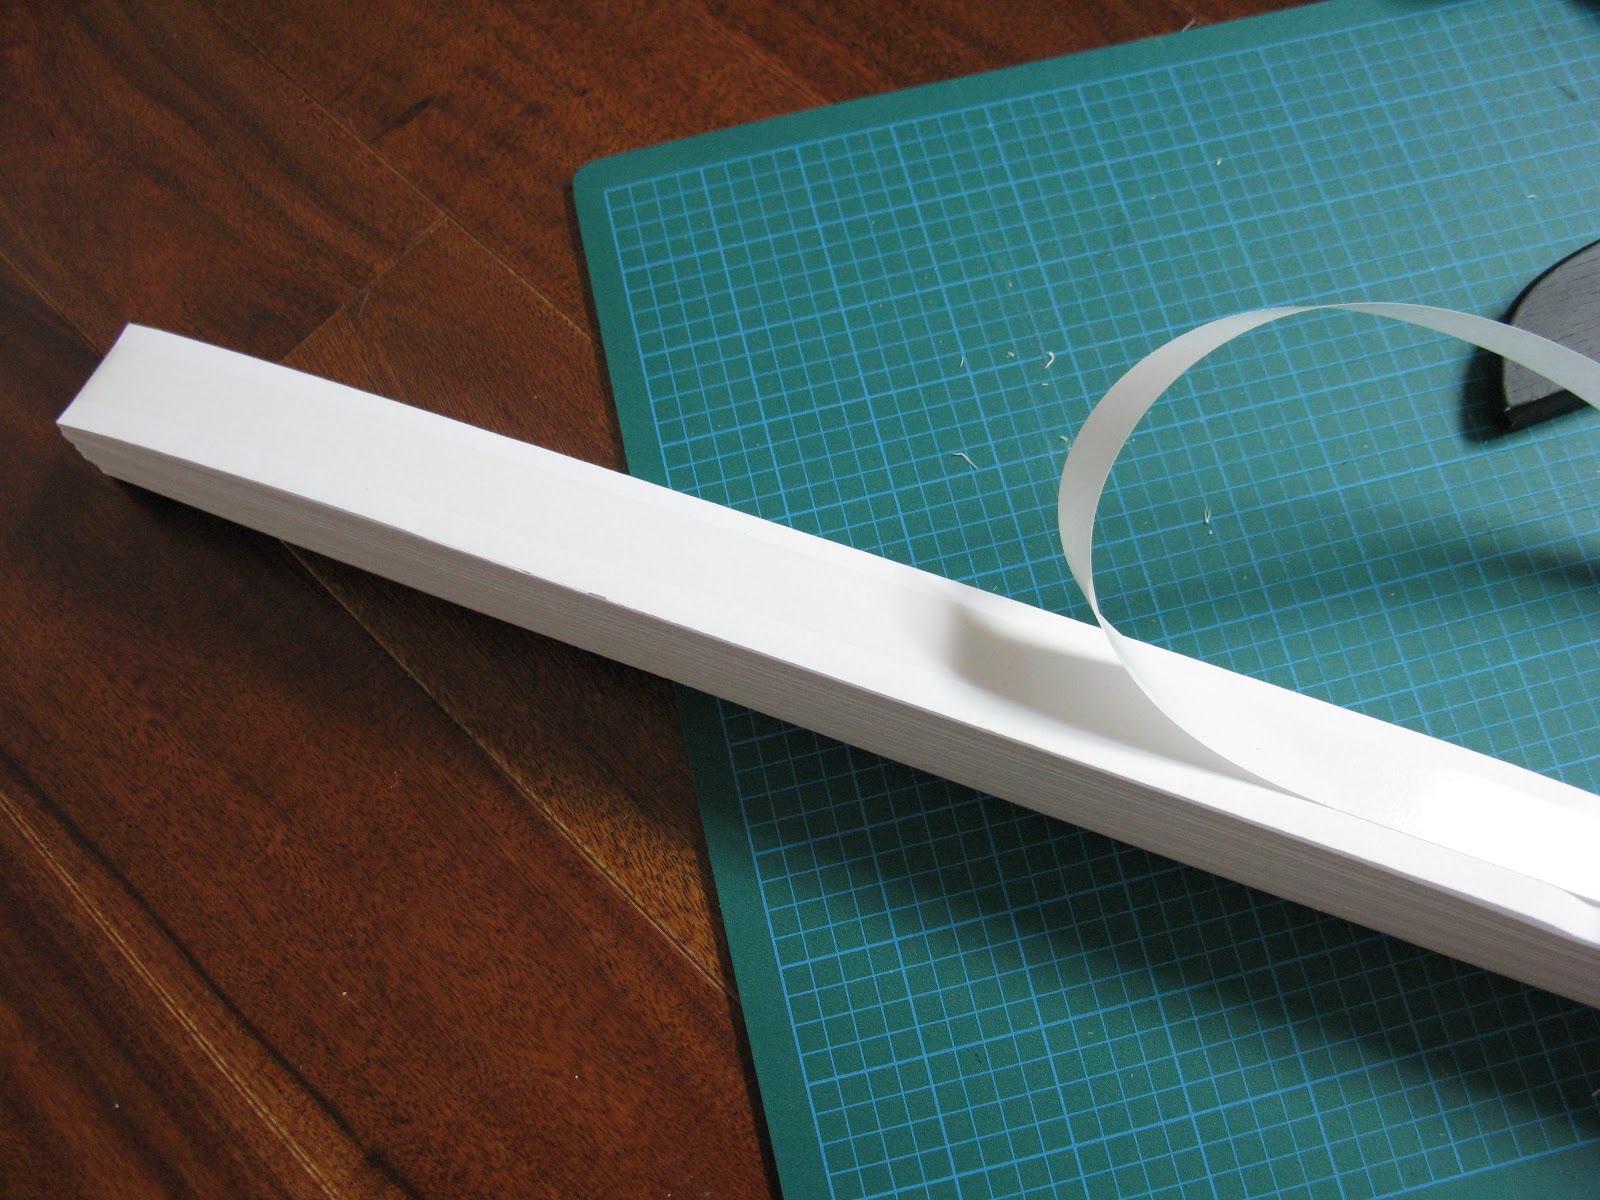
Installation was easy-peasy.  All you do is measure the window, cut the shade to size, peel the backing and stick. So quick!

All you need is a measuring tape, pen, utility knife, cutting edge and a cutting board.


You want to make sure you have a fresh blade when cutting so that you don't tear the paper.


Once that's done, all you do is peel the backing off and stick the blind along the inside of the window.  No holes to drill!

I went from this.


To this!  Huge improvement and not an unattractive solution.


The blinds also comes with plastic clips that you can use to clip up the blinds rather than leave them down all the time.  Very convenient.

I now have four windows with these temporary blinds which gives me a bit of breathing room to figure out what type of window treatment I can design for these spaces. 

February 21, 2013

New Windows

I had new windows installed this past week throughout my house.  Thankfully, the weather cooperated and since it's not a busy time for the installers, two crews were sent out so it was only one day of noise and dust.

After getting several quotes, I decided to go with Supreme Windows.  They're one of the more established companies here in Calgary with great reviews on HomeStars and I knew friends that had worked with them in the past and were happy with the end result.  I also felt that when I was getting the quote that they had a really good understanding of what I was looking for and spent a lot of time examining the windows I had and trouble-shooting a few things that come with an old house (like why is every single window a different size, age, and material?).

I did not take photos during the installation as I was really just trying to ignore all the sounds of hammering, ripping off of trim and seeing mounds of dust and debris beginning to accumulate. I did snap this one photo of the 'interesting' wallpaper found behind the trim in the upstairs bathroom:


The bathroom as it is today has a lot going on (future post to come on that space) and I can't imagine adding something as busy as this to such a small space.

Here is the finished window in my guest room.  It's a huge improvement from what was here previously as the window was barely operational before.  I also love how window handles fold down now and don't get caught up on window treatments.


I went with simple trim and the header has some detail on it while the side pieces are plain.  I chose trim with 3 1/2" width which gives a nice presence in the room.


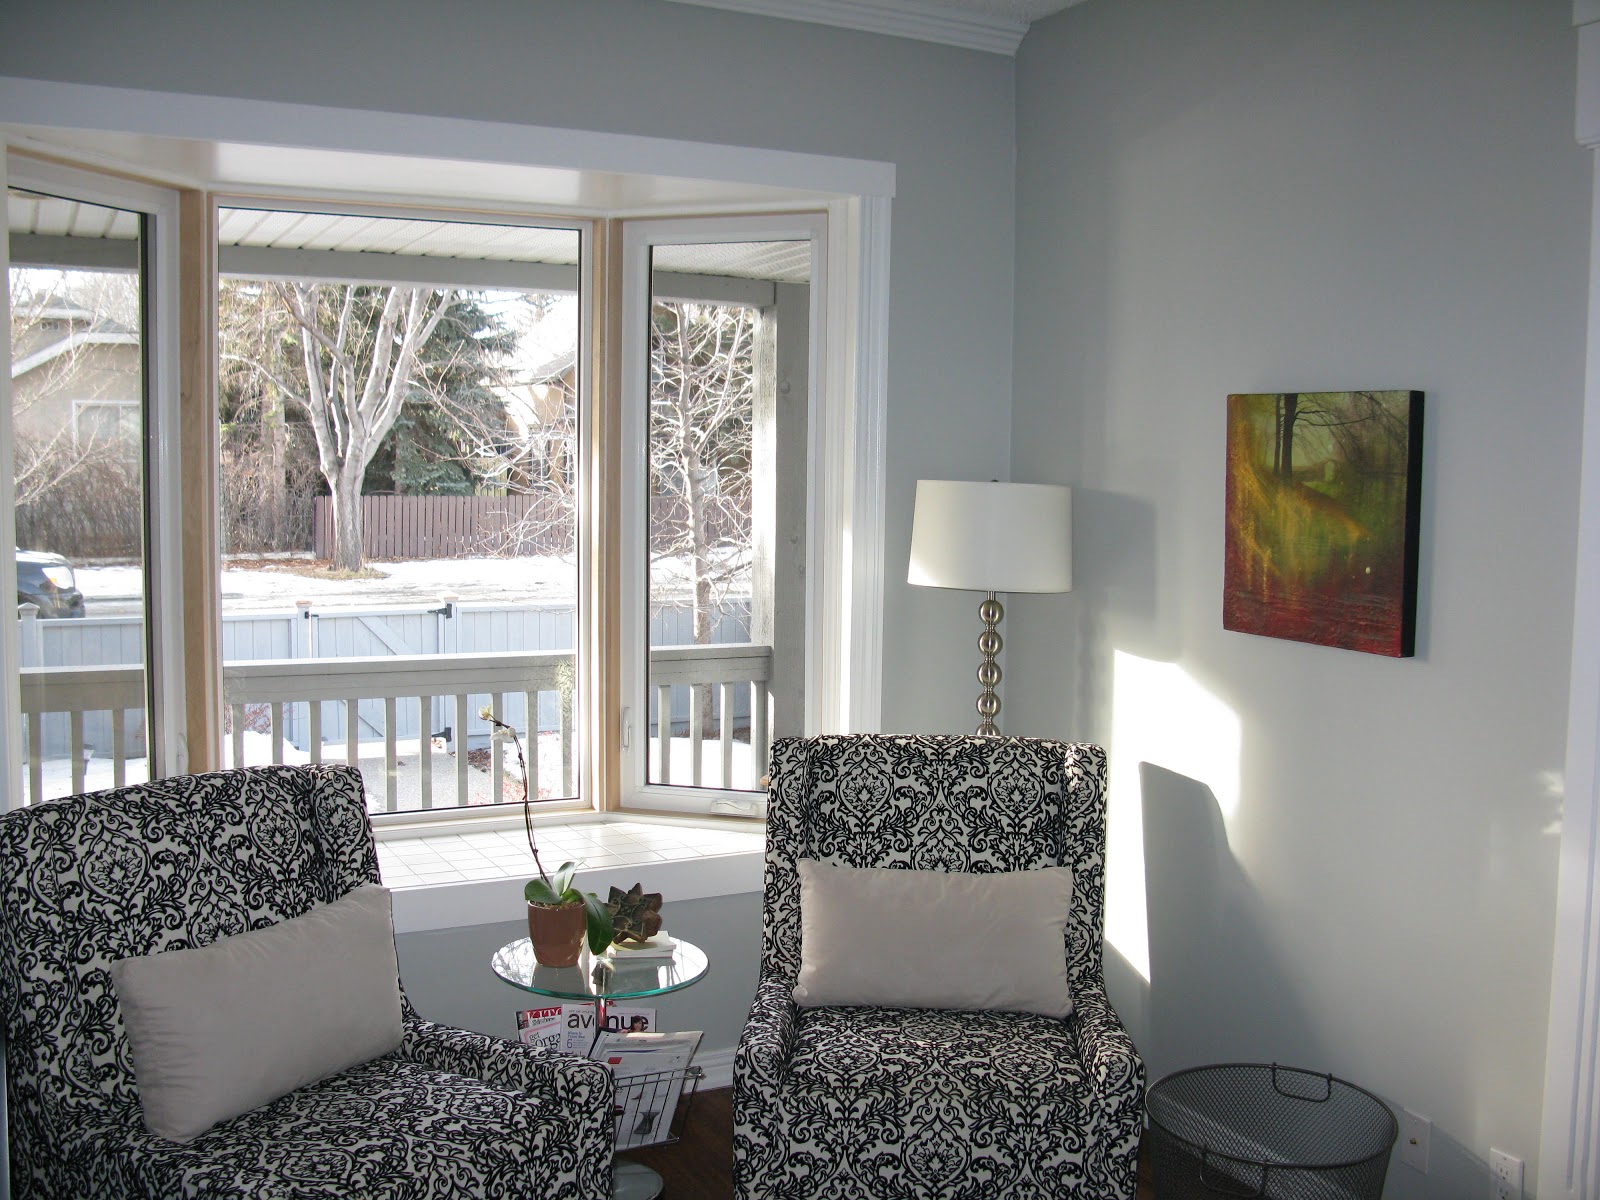
Here is my new bay window.  I still need to paint out the wood and I intend to match the window trim with the rest of the windows in the house.  


I've already ordered drapery for this room in a great navy/cream ikat from Chintz & Company. These should be finished in another week and I'm planning to find coordinating fabric to create a cozy window seat and something to re-cover my current chairs with.


February 17, 2013

Loving the New Sofa

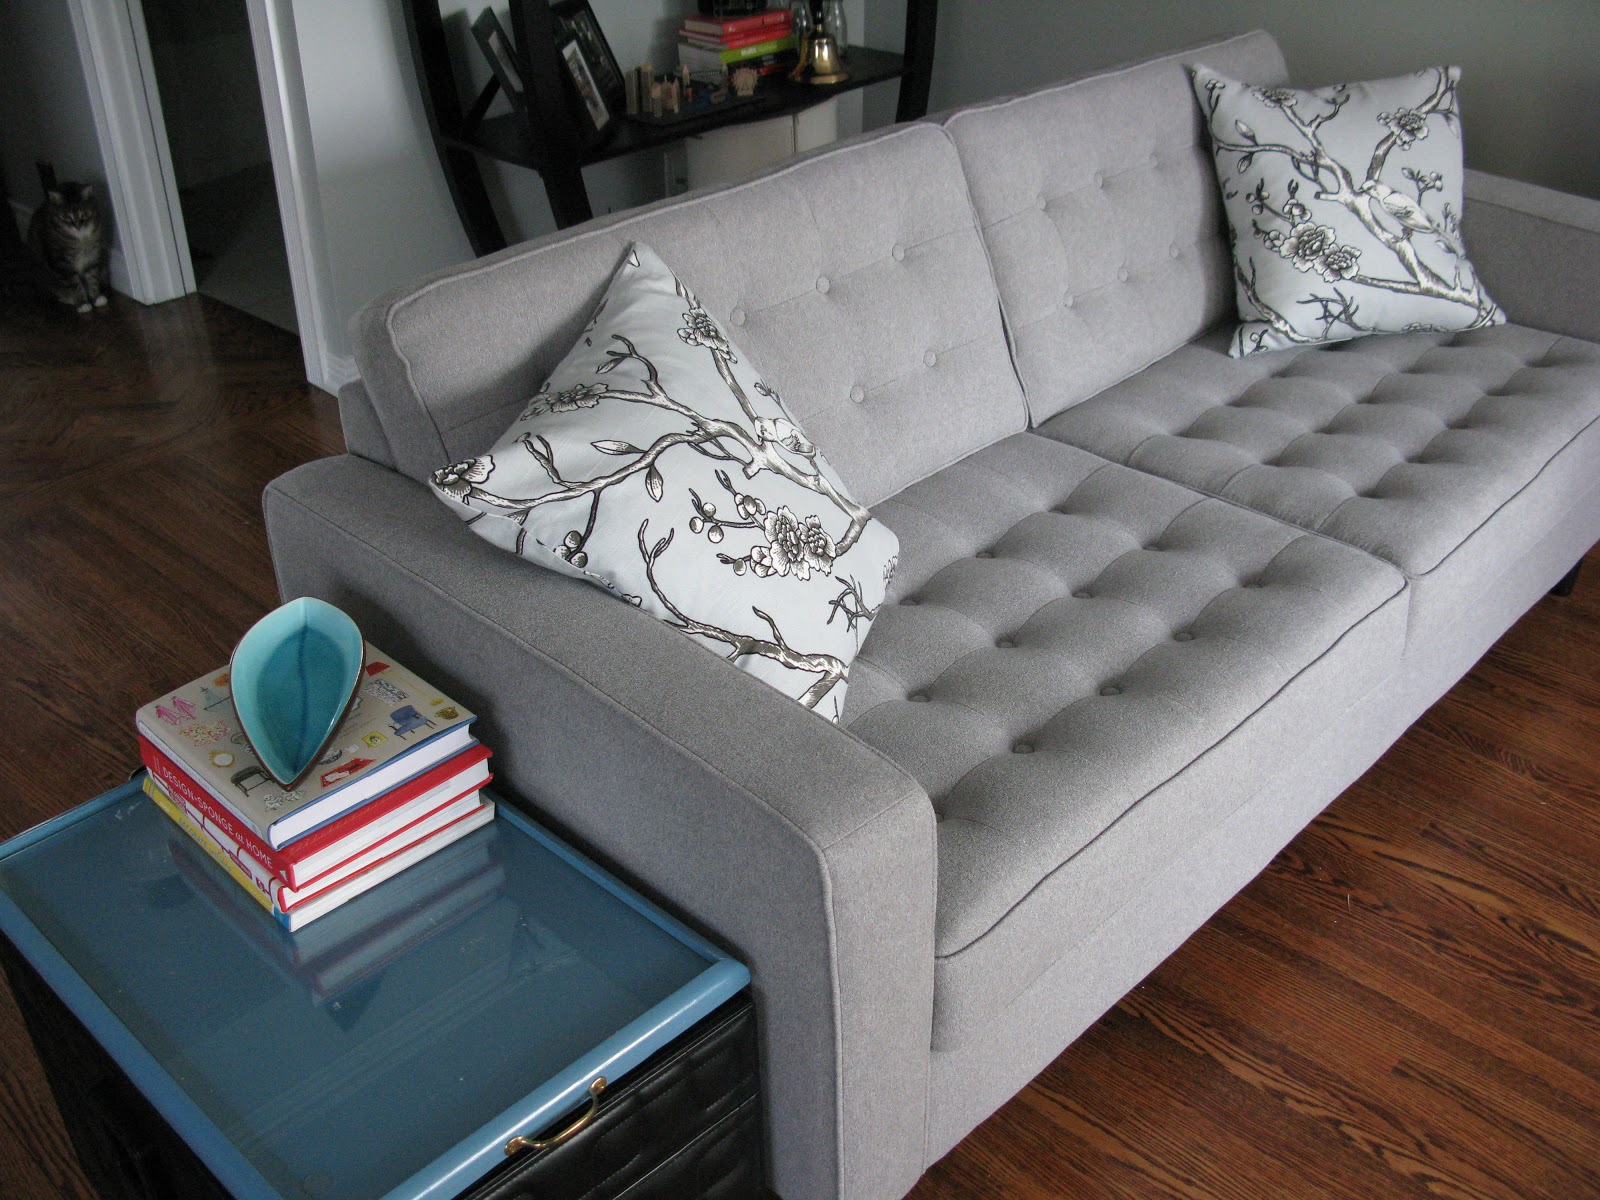
My new sofa was delivered this week (on Valentine's Day - a little gift to myself) and I couldn't be happier with how it turned out.

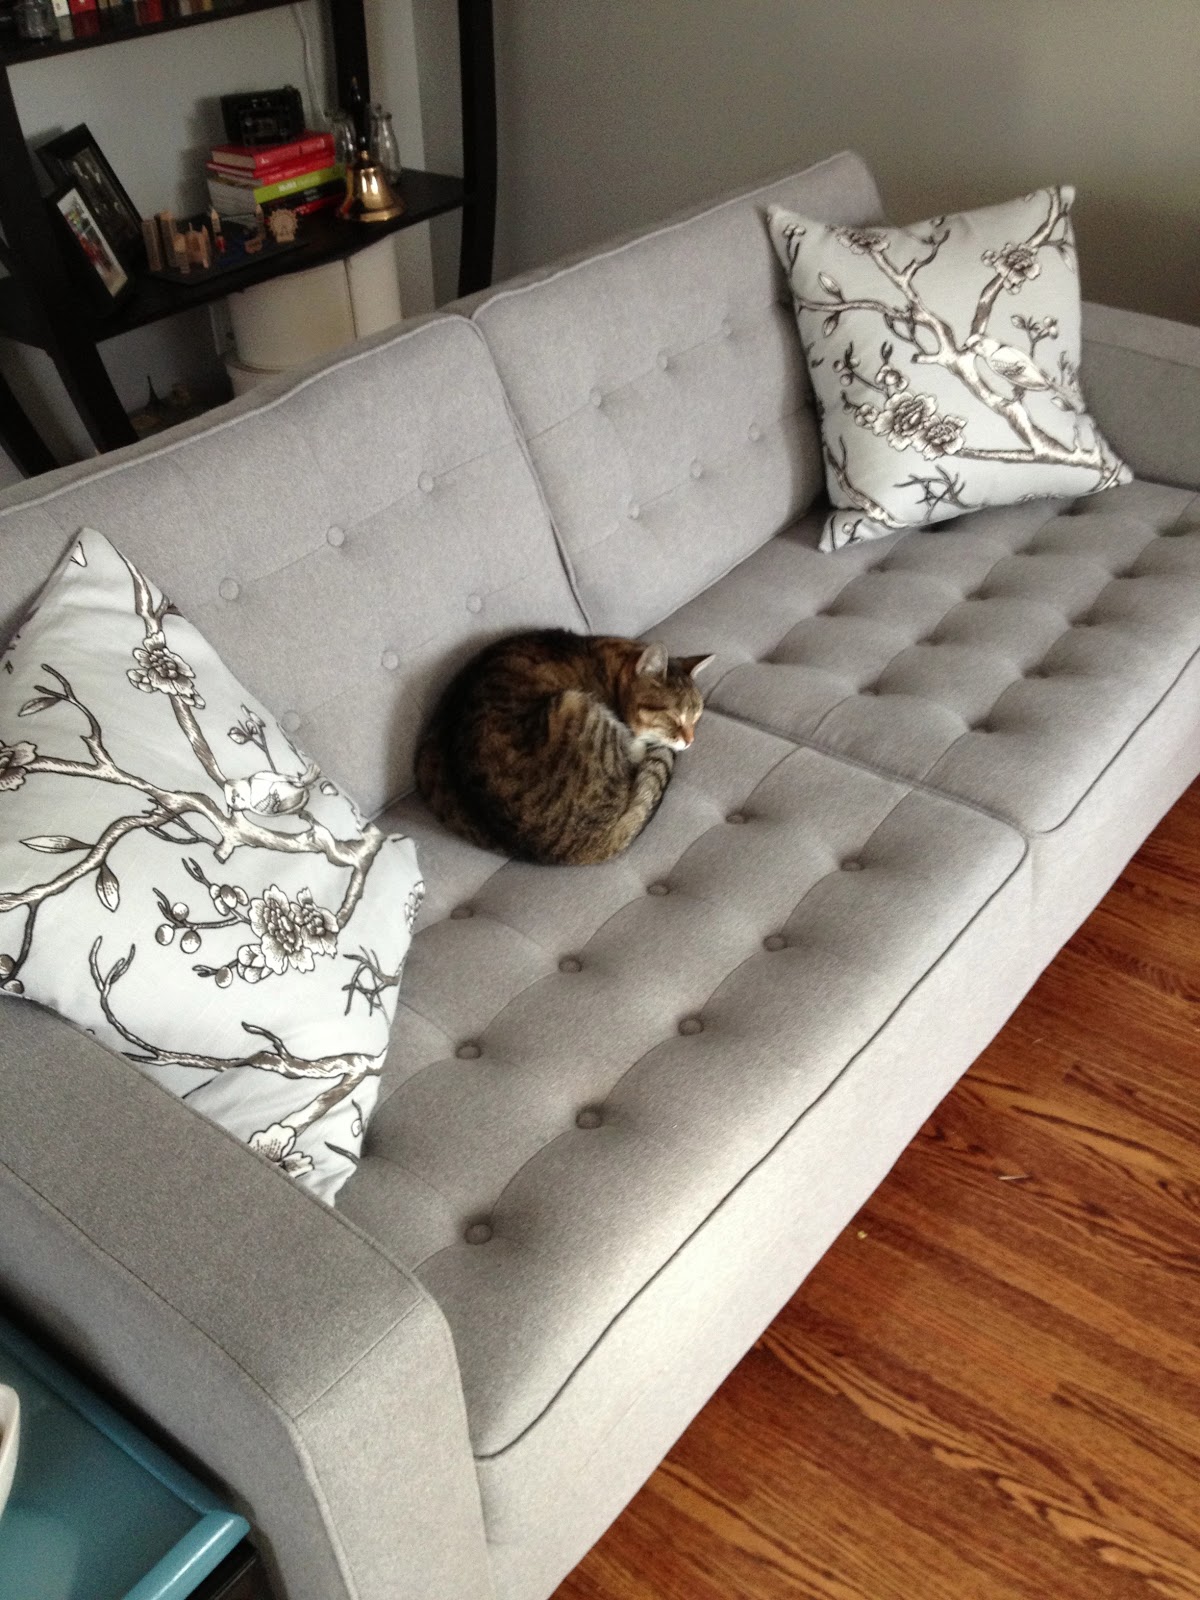
I ordered the Reverie Apartment Sofa from EQ3.  The front of my house is very wide but I've split the space into a family/living room and an office so I needed something with a slightly smaller scale. I wouldn't call this a love seat though as you can easily fit three people and for a tall girl, I can comfortably stretch out.

I chose the Mila fabric which is a Grade 20 and has a gorgeous hand to it.  A bit of a nubbly, soft texture.  The colour is Silver.  I love the tufting and it certainly has a mid-century modern feel to it. 
The legs are in onyx which is a nice contrast to the existing hardwood although I will be swapping out an existing rug from my bedroom for this room.  I already had the pillows and the fabric is from the Eclectic Modern collection by DwellStudio for Robert Allen. The name of the fabric is Vintage Blossom and the colour is Dove.
The new sofa has also proven to be a big hit with Shoppy and even as I write this, he is currently curled up and snoring away in almost the same spot as this photo.  What a lucky guy to have such a lovely bed.

February 07, 2013

My New Desk!

I finally found a fantastic vintage table at Cozy Cottage Interiors that will work perfectly as a desk (I'm writing this post from it).  It is a lovely drop-leaf table with that "perfectly worn in" look I was aiming for.  I decided to paint the legs and base of the table a deep black-blue - Old Navy and keep the top as-is.
Old Navy 2063-10 - Benjamin Moore
Trying to figure out the right 'blue'
No 'before' photo as we took apart the table to get it into my car 
Such a lovely deep blue and Regal provides great coverage
I primed the legs before painting them 
Shoppy admiring the first coat - three in total were needed
Project finished and I added a chair and lamp from Restoration Hardware 
A few more accessories in place and I can start working 
A small shelf to the left and some artwork will finish things up 
Detail photo of the worn-in table top