Showing posts with label mini-makeover. Show all posts

April 12, 2013

Family Room - Sneak Peek

My family room is really coming together nicely.  The addition of my new drapes and some furniture rearrangement has completely changed the feel of the room.  It's such a bright and comfortable space.  I'm still hunting for a coffee table, a new media console (maybe?), lighting, incorporating more artwork and making a cushion for my window seat.  Feels like a very doable list.

I sold my old chairs (they went really quickly) and decided to replace them with just one chair as once the cushion is added to the window bench, that will work as extra seating.  I really love the Strandmon wing chair I picked up from Ikea.  It was exactly the updated piece I was looking for and the slope in the seat makes it really comfortable.  More posts to come as I continue to work on this room.

February 23, 2013

Paper Blinds - I never thought I'd use them

Ok, so I put up paper blinds and now I understand why people put them up and then never take them down again. How did this happen to me?


After getting my windows replaced, I was left with a lot of beautiful windows but zero privacy.  This was a bit of a bigger issue in my kitchen, where I have floor to ceiling windows that face my neighbour's house with a shared walkway and in the principal bedroom which also has a huge window with an unobstructed view of the alley and the east side of my neighbourhood.

I decided to not re-install the previous blinds as I didn't want to drill holes in the new vinyl windows (there goes the warranty) and I knew that in the future, I would be trading them in for a different style anyways.  So what do you do when you don't want the entire neighbourhood seeing you in your pig-patterned pyjama pants?  The answer to that came as I strolled the aisles of Home Depot frantically looking for something that would allow me to turn on the lights in my bedroom without creating a mini red light district in Bridgeland.

Redi Shade available at Home Depot
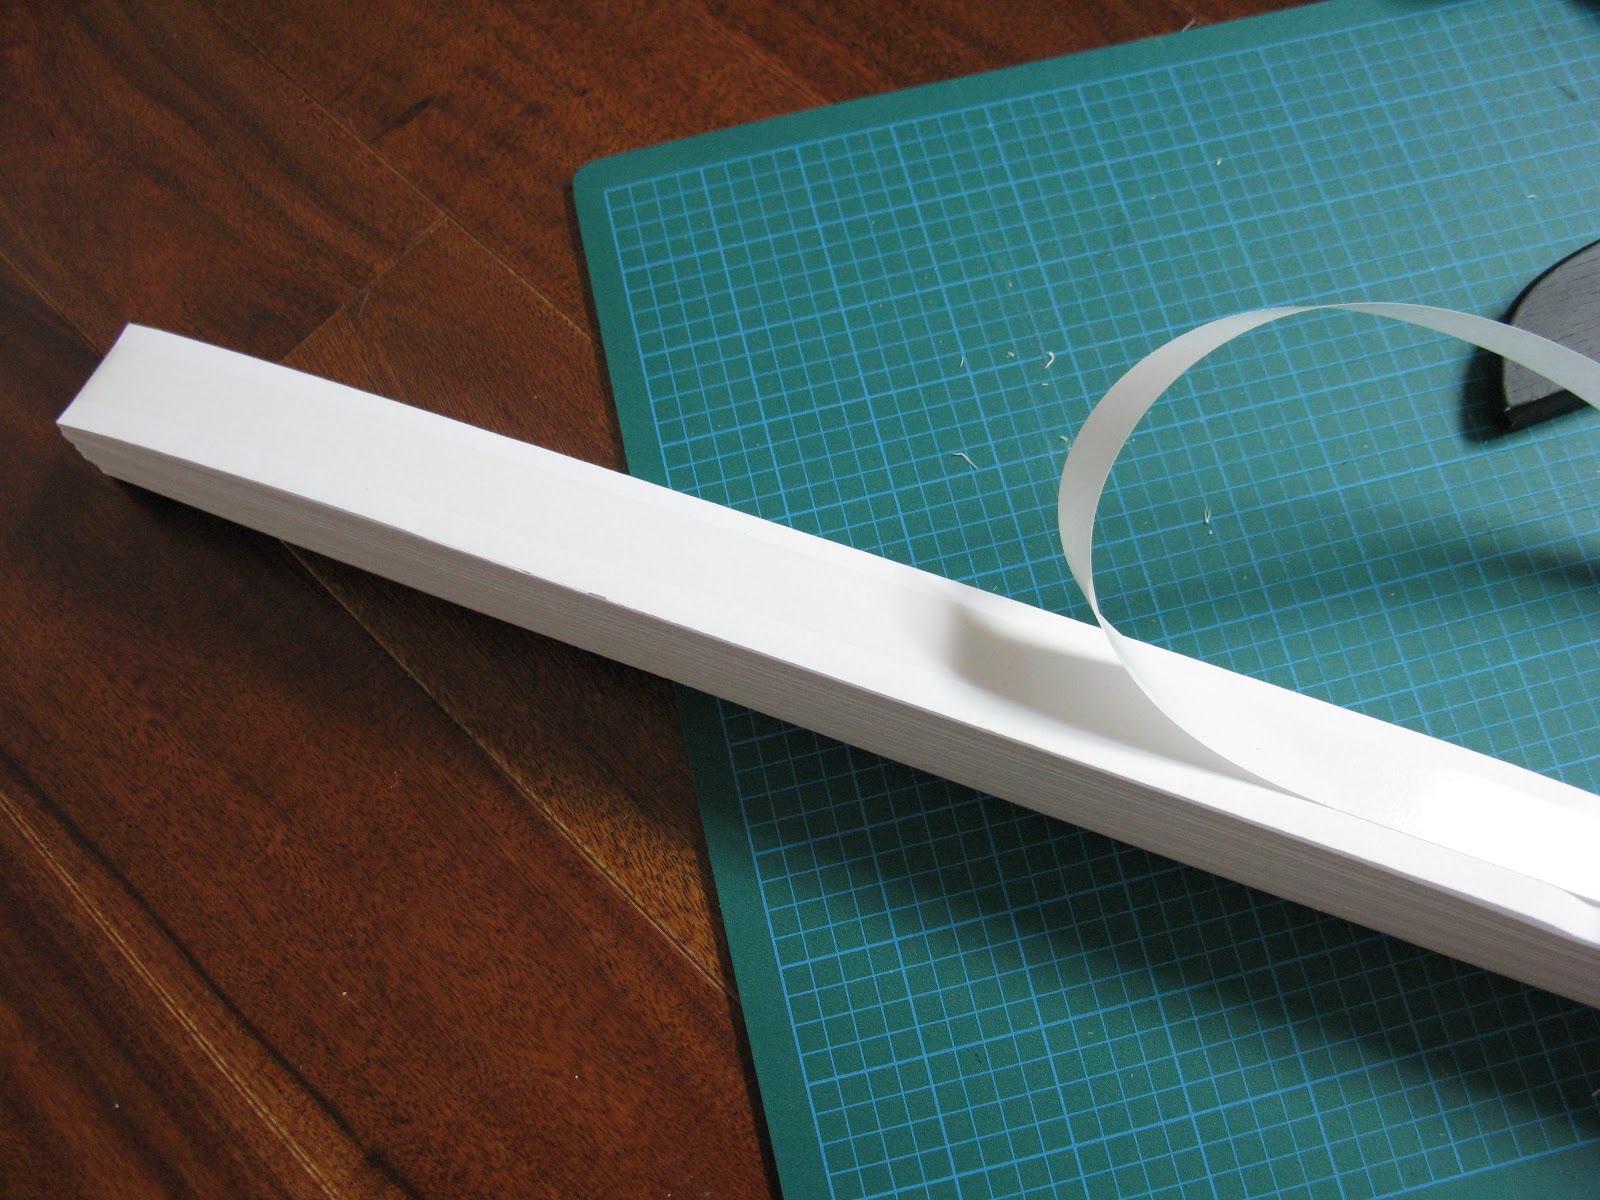
Redi Shade is designed as a temporary solution when you need something on your windows to filter the light and add privacy.  The key word is "temporary" as these are made of paper and aren't a long-term solution.  I was really surprised though by the quality of the paper and how nice they actually look and now I definitely understand why people may keep them up for longer than intended.

Installation was easy-peasy.  All you do is measure the window, cut the shade to size, peel the backing and stick. So quick!

All you need is a measuring tape, pen, utility knife, cutting edge and a cutting board.


You want to make sure you have a fresh blade when cutting so that you don't tear the paper.


Once that's done, all you do is peel the backing off and stick the blind along the inside of the window.  No holes to drill!

I went from this.


To this!  Huge improvement and not an unattractive solution.


The blinds also comes with plastic clips that you can use to clip up the blinds rather than leave them down all the time.  Very convenient.

I now have four windows with these temporary blinds which gives me a bit of breathing room to figure out what type of window treatment I can design for these spaces. 

November 08, 2012

Mini-makeover - Front Hall

It is going to take some time to find all the "right" pieces to pull my new house together.  I have a long list for each room and most of those items are on my phone so when I'm out-and-about, I know what I'm on the hunt for and have all the essential measurements for any larger items.

My front hall is quite wide so there is plenty of space to take off your shoes, hang up your coats, drop your bags, etc.  The only problem is that there is no hall closet.  The former owners left a huge wooden rack with hooks and a shelf but the little cherubs on it weren't exactly my style so it was removed while I was re-painting.  The blinds you see in the photo are broken and the hall light is not very bright and casts a horrible yellow light.  With the dark colour on the walls and the brown tile at the entrance, the space just sucked up any light that came through the side window - the complete opposite of an inviting entrance.

Before:
The dark walls sucked all the light out of the space 
I used Stonington Grey by Benjamin Moore and now the natural light bounces around the space 
Not a huge fan of the colour of this tile - contemplating a temporary fix with marine paint

After (so far):
A much more welcoming space
The new light fixture is considerably brighter 
Still in need of a coat rack and a bigger bench to sit on and store shoes
I removed the blinds and added a temporary opaque film to the windows for privacy
Great inexpensive rug from HomeSense by Colin and Justin
Much better!  The colours of the rug work really well with the lighter paint and make the space even brighter.  I love the extra privacy that the frosted windows provide without sacrificing light.  The new light fixture is great and completely changes the space.  I picked it up during a lighting sale from Restoration Hardware and the classic shape is perfect for the age of the house.

Here's the rest of the "to do" list:

  • replace the tile (something light and bright)
  • replace the locks and doorknob
  • replace the windows (ordered and booked for January - still will be opaque for privacy)
  • paint out the fixture cover above the door so it's less noticeable
  • add a coat rack with a shelf
  • add a large bench (storage under the seat or pick up baskets/boxes for under the bench)
  • paint out the door? possibly a glossy black???

Still a lot left to do but this mini-makeover will hold me over while I continue to search for the rest of the items on my list.

November 03, 2012

Mini-makeover - Chalkboard door

I had a chalkboard wall at my old place and loved it.  It was a great place to jot down ideas, grocery lists and even do some doodling.

T.O. kitchen and chalkboard wall
I wanted to recreate the look in my new kitchen but didn't have any walls that it would work as well on.  Instead, I decided to paint out the door leading down to my basement.

That all-white door is just asking for some lovin'
Martha Stewart chalkboard paint - I actually used a roller brush to reduce brush marks
Taped-out the trim so I would have nice clean lines 
First coat looks good - I patiently waited an hour between coats
Good coverage but definitely needs a second coat
Second coat had a few roller lines - probably could have waited longer between coats
Third coat resulted in perfect solid coverage
Great addition to the space
My nephew, Milo, trying it out
I'm really pleased with how this turned out.  All the design books remind you to have a touch of black in a room and I think this fits the bill perfectly.  I'm planning to use the top portion for my 'to-do' lists and the bottom is just the right height for my nephews to sit in front of and draw (as demonstrated above).