I finally wallpapered the wall behind my desk with pages from an old set of encyclopedias. I previously discussed different projects I was planning with these books
here.
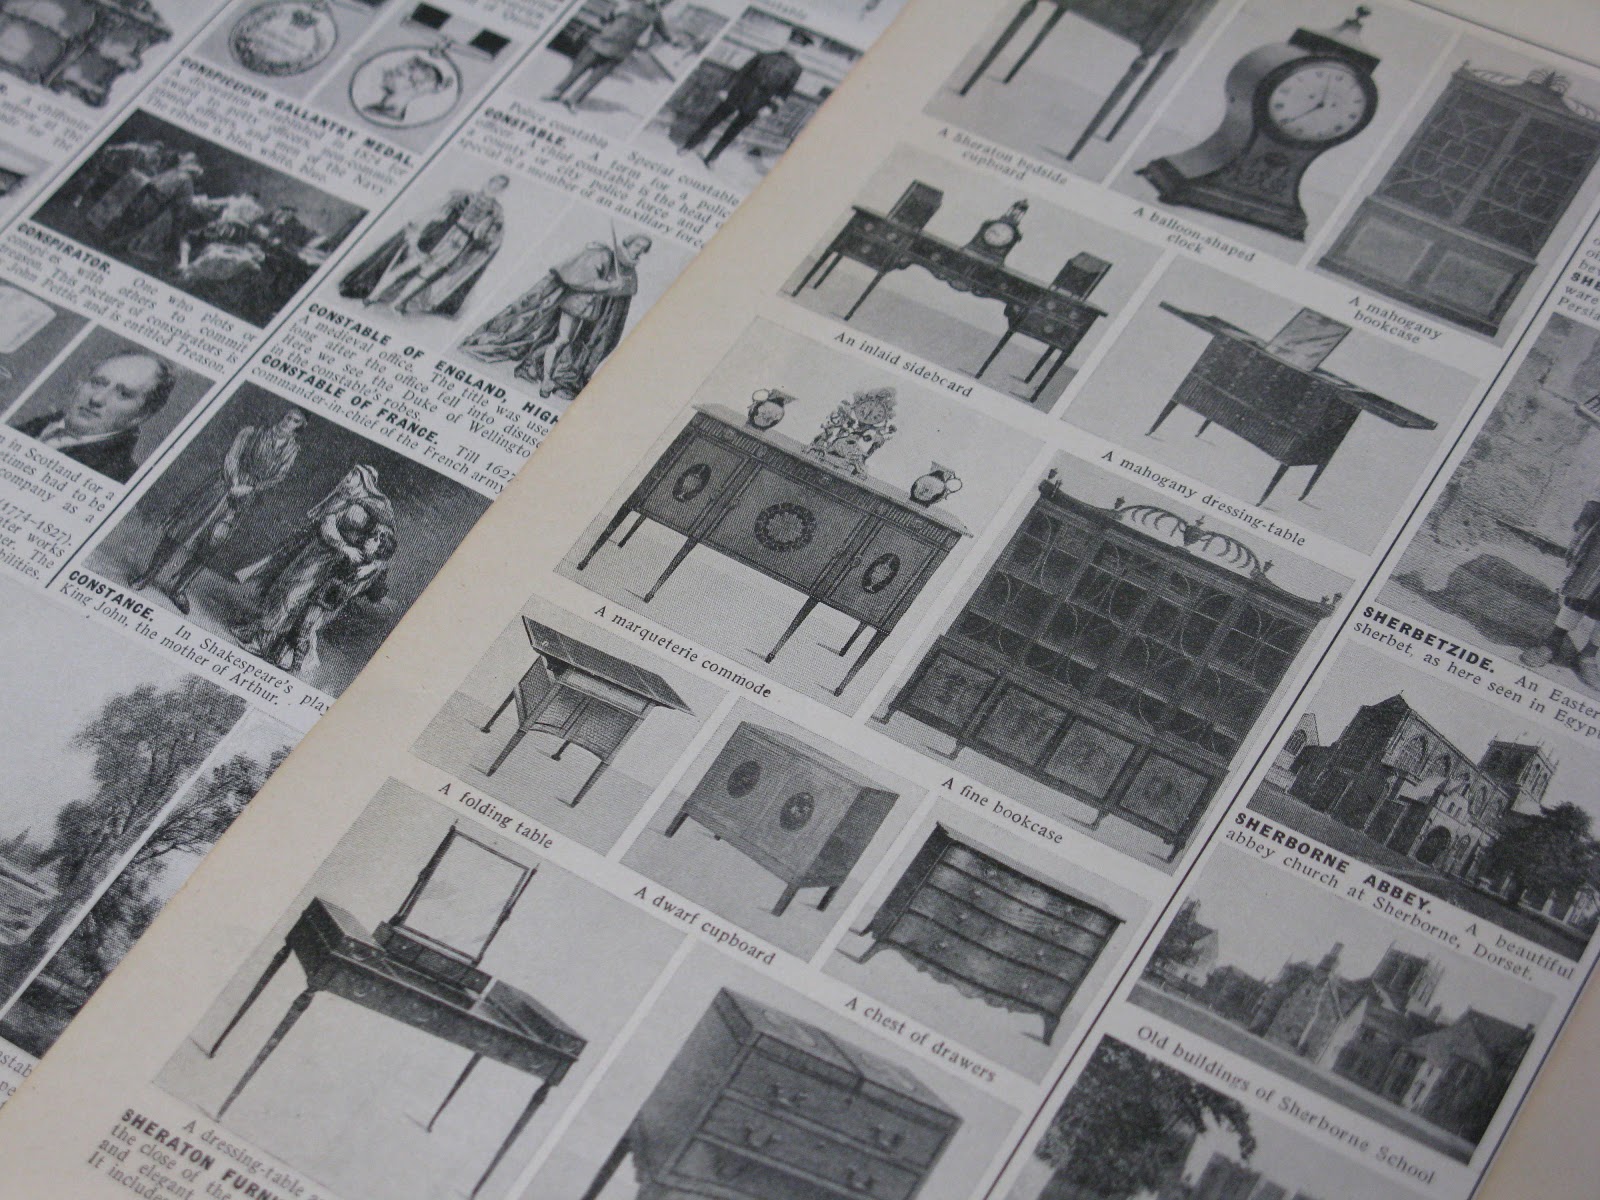
These encyclopedias are pretty unique as they contain pictures rather than a lot of text. I spent several nights leafing through all five volumes and selecting pages that include items related to architecture, design, furnitures, etc.
I just love the vintage images and many of the pages have aged from use and time so some are a bit more yellowed than others.
The first step in this project was to trim up the pages. Not super exciting but having straight edges certainly makes this project a lot easier as each page keeps the next one straight (meaning I didn't need to pull out the level or mark off any chalk lines to keep everything straight).
The next step was to put up a layer of sizing on the wall. Sizing helps prep the wall for wallpaper and gives you a little wiggle room to line up the sheets. It also makes removal a wee bit easier.
After waiting two hours for the sizing to dry, I laid out the first two rows of pages to see how they would overlap, how many pages I would need to fill the wall and where I wanted to place them. The built-in desk was perfect for this. A little planning was needed as I wanted to keep certain pages on similar topics a bit spread out (meaning Roman architecture and Greek architecture weren't beside each other). Certain pages also had topics either on the right or left-hand columns, so I needed to place them so that the overlap of the next page wouldn't cover anything I wanted to see. I was also saving certain images for those that would run along the row at eye-level so I could enjoy them as I worked at the desk.

Once I was happy with the layout, I started pasting. This took a little practice to make sure I was using enough paste but not too much that there were bubbles or too much seepage. The paper used in this book is actually quite thick and I ended up only tearing one sheet. You really do need to consider the type of paper when taking on a project like this as anything too thin won't be able to withstand the pasting process.
After each sheet was up, I would use my vinyl smoother to make sure any big air bubbles were smoothed out and the page was adhered to the wall. I also used a damp rag to wipe down the seams to remove any extra paste (you also have to wipe down the vinyl smoother after each page). It's definitely not a good idea to rush through this process as you don't want extra paste on your walls and once the pages dry, those air bubbles aren't going anywhere.
It look about three hours and 83 pages to cover this one wall. I am really, really happy with how it turned it out. The pages look fantastic and add a great graphic quality to the space.
And that's another item off the 'to-do' list:
paint the room in Stonington Gray (carrying the colour up from the downstairs)paint the desk in whitewallpaper behind the desk with pages from books- add shelves above the desk (purchased!)
paint out the closet door in white and replace the handlespaint the interior of the closet- create efficient shelving in the closet
- replace the trim around the doors
paint the baseboards white- paint my dresser in navy blue and switch out the handles
- bring it all together with artwork and some accessories


No comments:
Post a Comment